
Deploying a Nuxt 3 Project on GitHub Pages
Step-by-step guide to deploy a Nuxt 3 project on GitHub Pages using gh-pages. Covers static generation, .nojekyll file, and GitHub Actions configuration.
Deploying a Nuxt 3 Project on GitHub Pages
In order to publish this blog project I prepared with Nuxt 3, I went through many sources and finally learned to publish the Nuxt 3 project on GitHub Pages. Since it is not available in many places, I will show you.
Steps to Deploy a Nuxt 3 Project on GitHub Pages
1. Generate static files
For Server Side Rendering (SSR):
npm run build
For Static Generation:
npm run generate
This creates a dist folder with the generated static files.
2. Create a GitHub repository
Create a new repository on GitHub and initialize it with a README file.
3. Install gh-pages
npm install gh-pages --save-dev
4. Add deploy script to package.json
"scripts": {
  "deploy": "gh-pages -d dist"
}
5. Deploy
npm run deploy
6. Configure GitHub Pages source
Go to your repository Settings → Pages → select the gh-pages branch as your source.
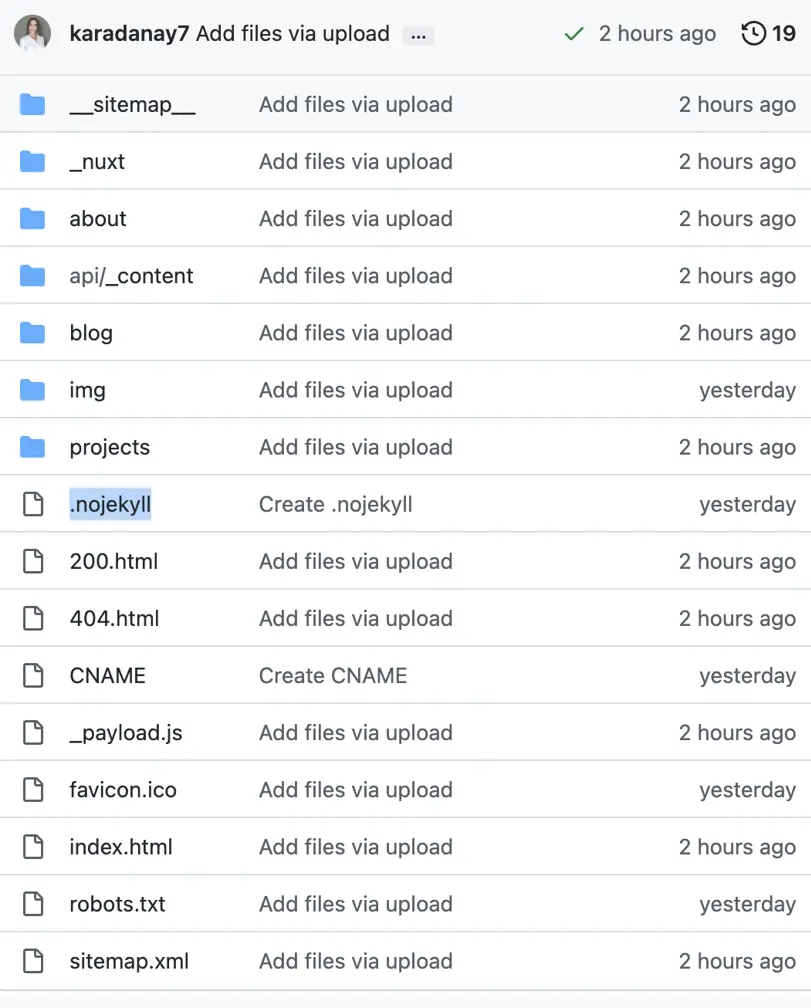
7. Add .nojekyll file
Important: Add an empty file named .nojekyll to the root of your GitHub Pages branch. Without this, GitHub Pages will ignore files starting with _ (like Nuxt's _nuxt folder).
Once you complete the deployment, your GitHub Pages site will be live!