

Integrating Google Auth with Supabase in Nuxt.js
How to add Google Authentication to a Nuxt.js app using Supabase. Covers Supabase OAuth setup, Google Cloud Console configuration, and signInWithOAuth implementation.
Integrating Google Authentication with Supabase in Nuxt.js
This guide walks through adding Google OAuth to your Nuxt.js app using Supabase step by step.
1. Set Up Supabase
Create an Account: If you don't already have a Supabase account, sign up at supabase.com.
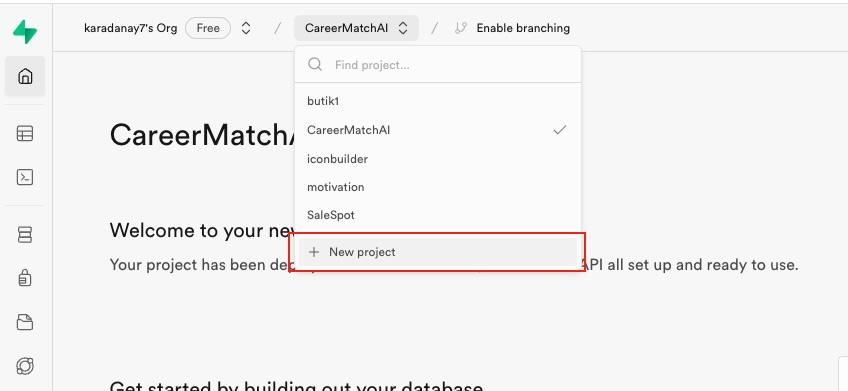
Create an Organization and Project: After logging in, create your organization and a new project.
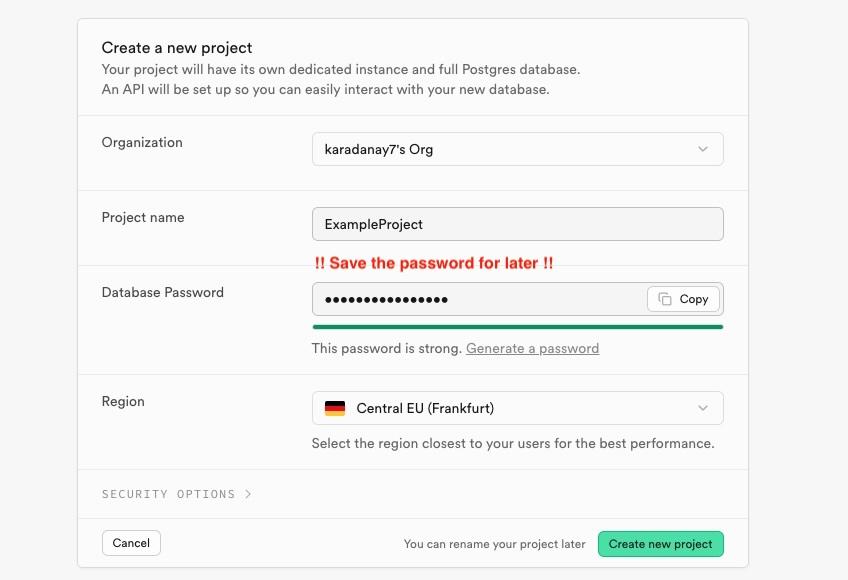
Define Project Details: Enter a project name and create a password. Save this password securely. Click "Create New Project."
2. Obtain Supabase Credentials
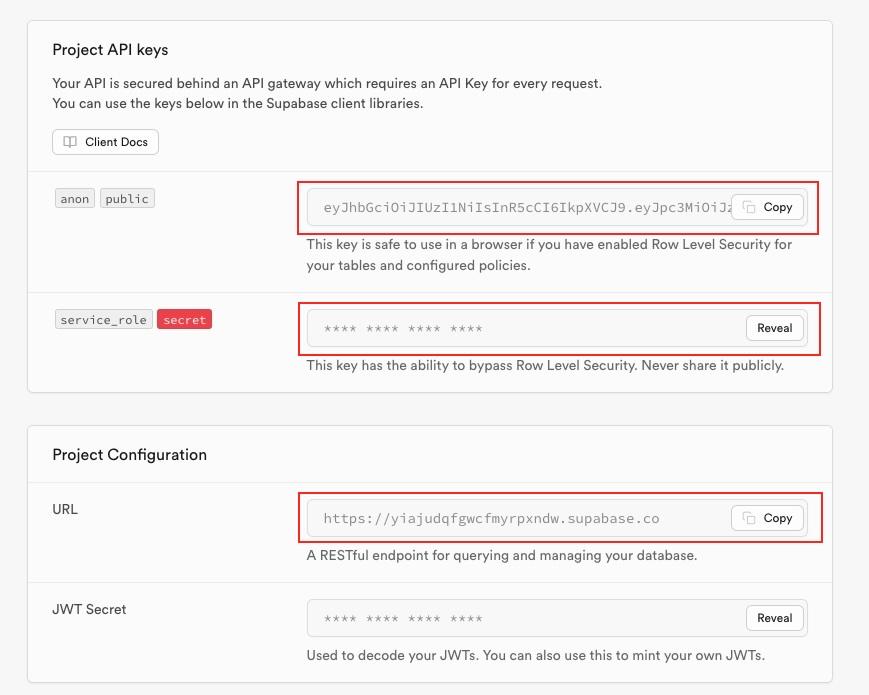
Copy Public Key and URL: Once the project is created, copy the public key and URL displayed.
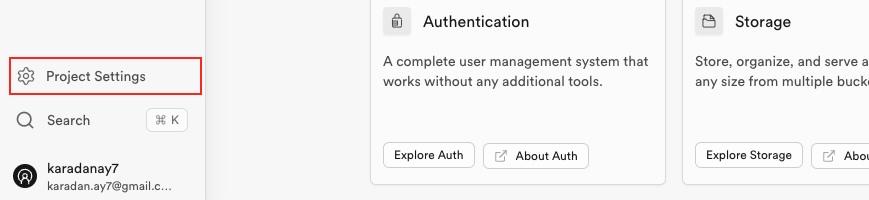
Access Project Settings: Go to the left sidebar and click on "Project Settings."
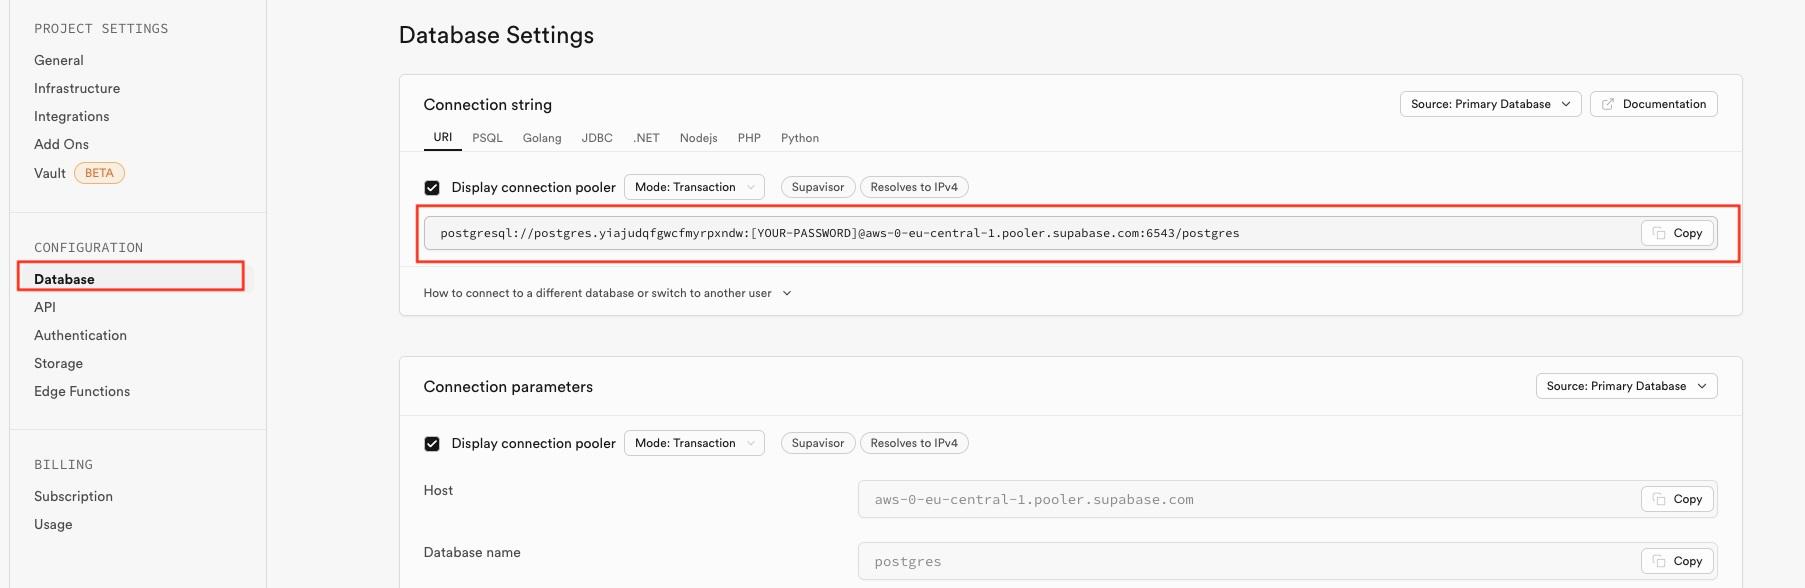
Retrieve Connection String: Navigate to "Database" to get the connection string and copy it.
3. Set Up Supabase in Your Nuxt.js Project
Install Supabase Module:
npm install @nuxtjs/supabase
or
npx nuxi@latest module add @nuxtjs/supabase
Configure Nuxt.js: Open nuxt.config.ts and add the module:
export default defineNuxtConfig({
  modules: ['@nuxtjs/supabase'],
})
Create Environment File: Add your credentials to .env:
SUPABASE_URL=your_supabase_url
SUPABASE_KEY=your_supabase_key
DATABASE_URL=your_database_url
4. Configure Google Authentication
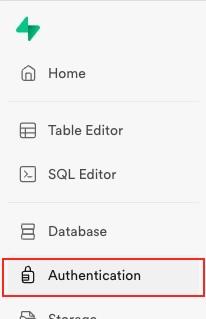
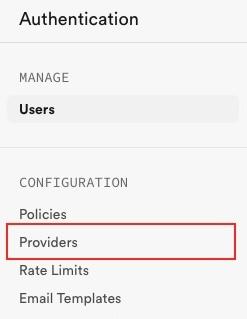
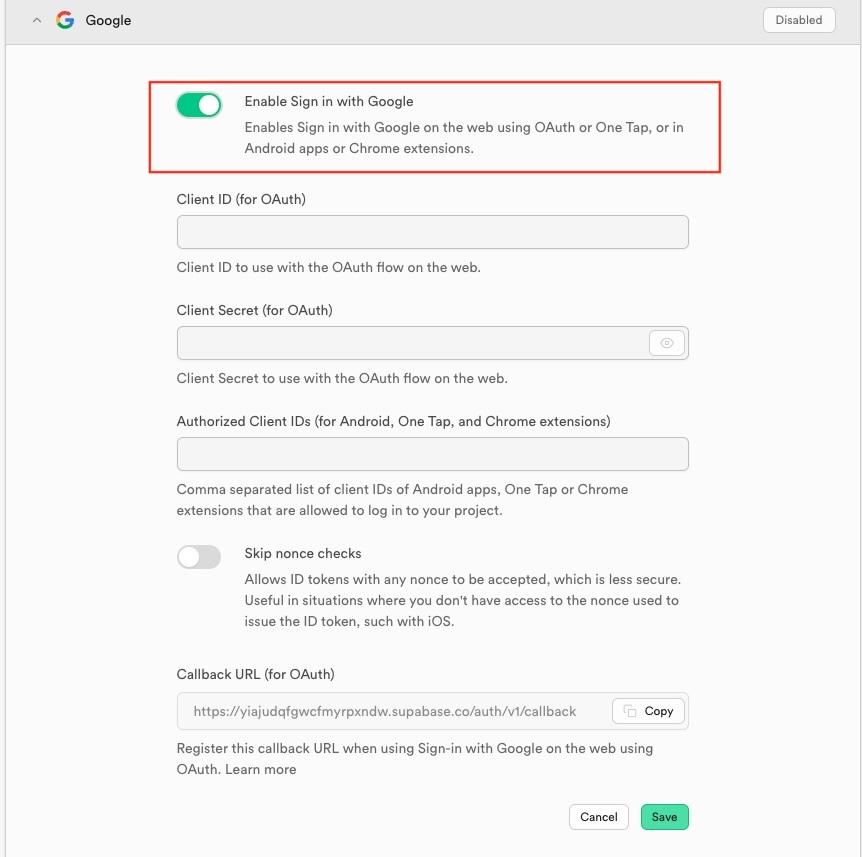
Enable Google Provider: In Supabase, go to Authentication → Providers → Google and enable it.
Set Up Google Cloud Console:
1. Create a new project in the Google Cloud Console.
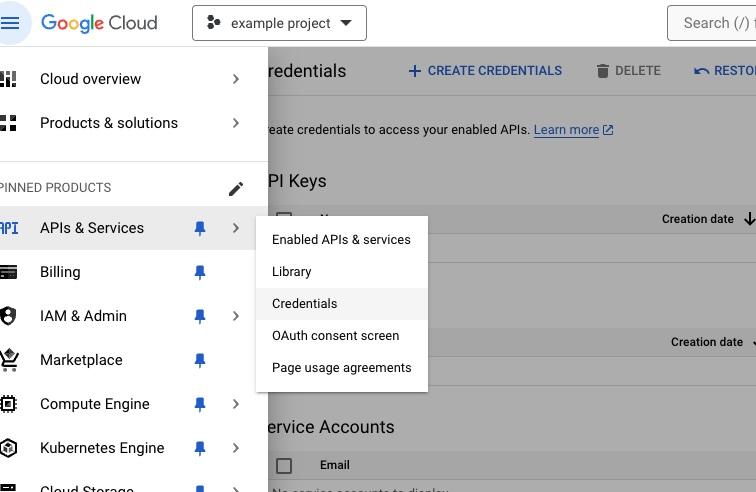
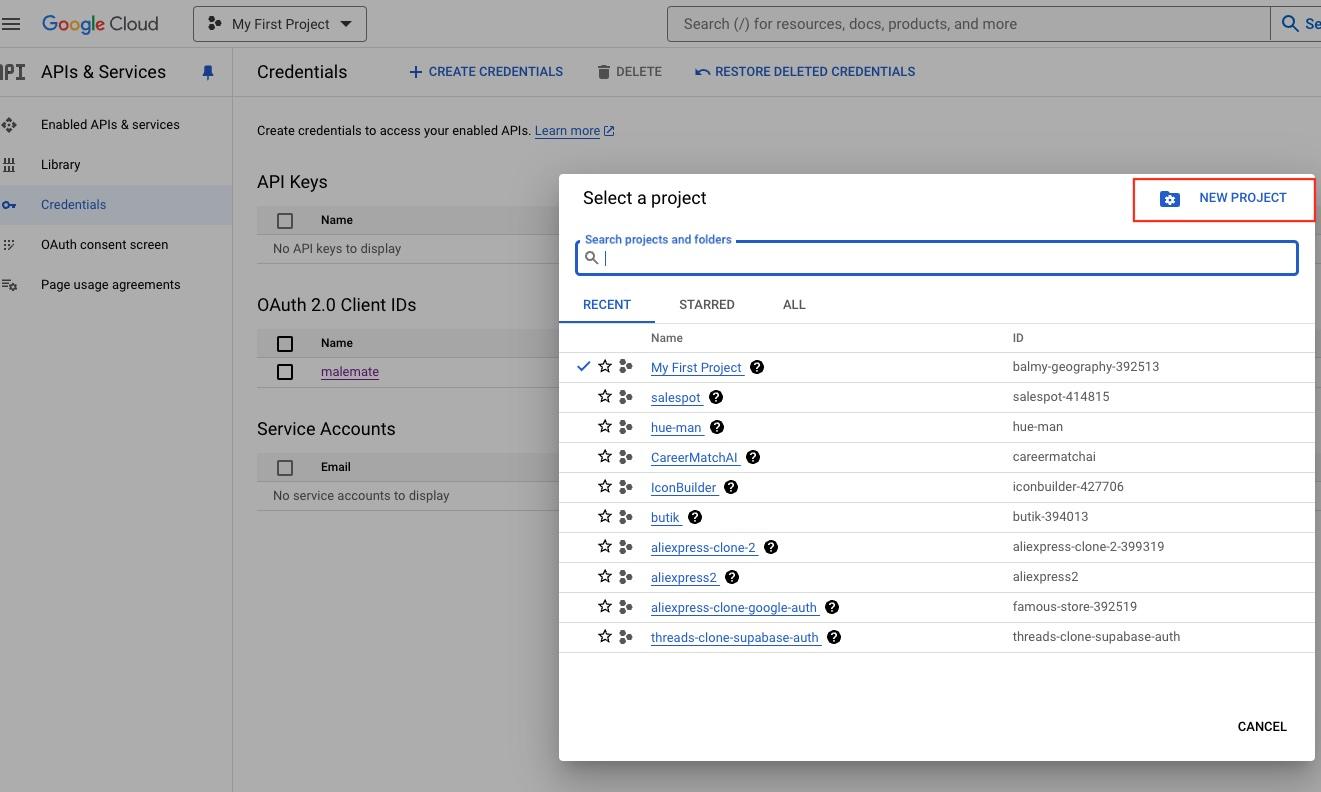
2. Navigate to "APIs & Services" → "Credentials."

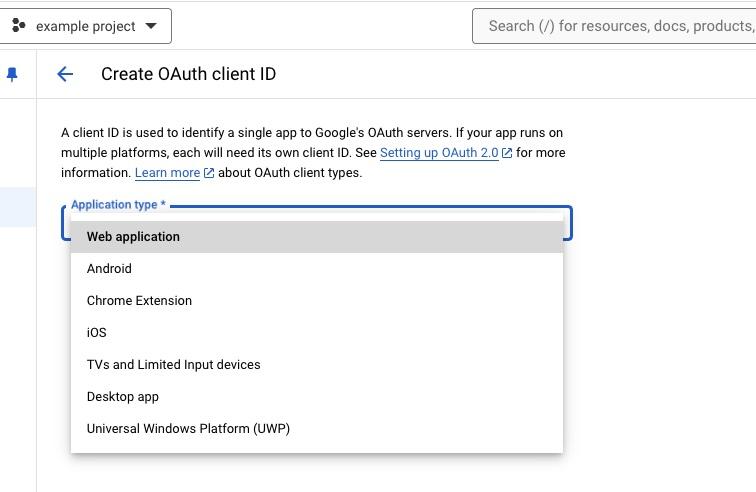
3. Create an OAuth Client ID
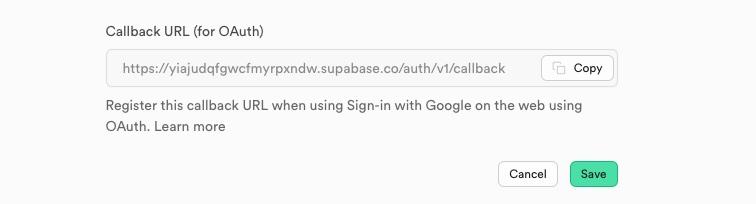
Choose Web Application, add your origin (e.g., http://localhost:3000) and the redirect URI from Supabase. Save the configuration.
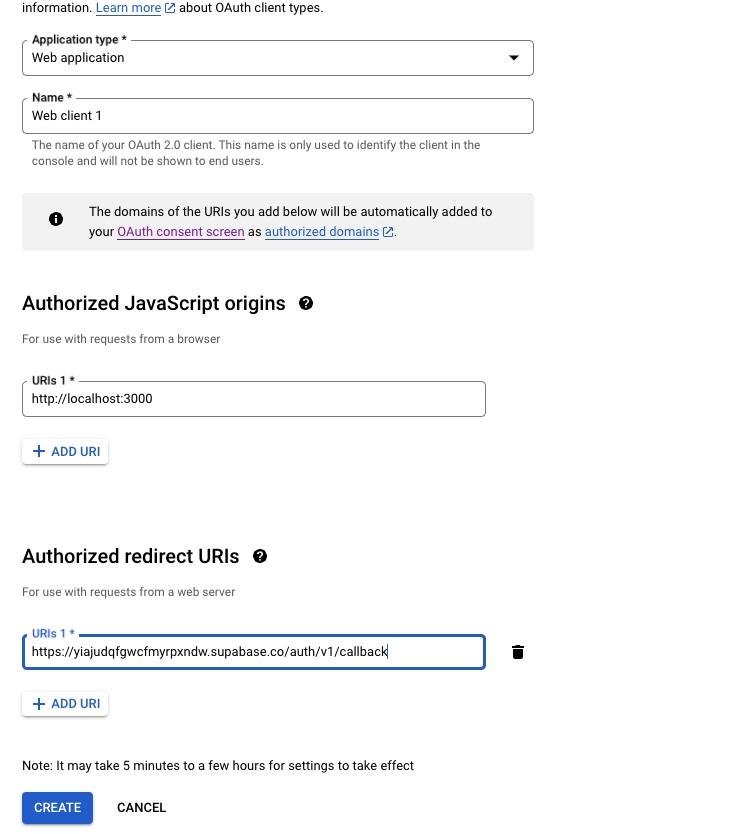
Copy the Client ID and Client Secret back into Supabase's Google provider settings.
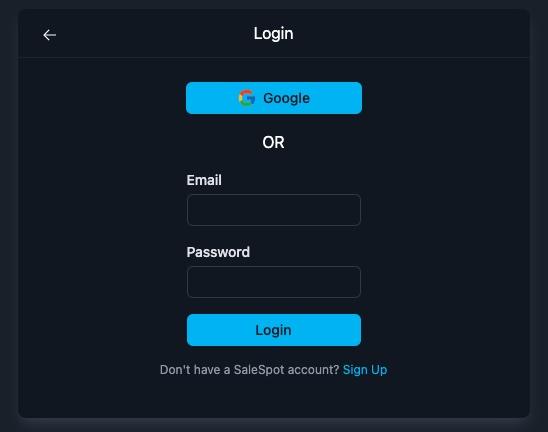
5. Implement Authentication in Nuxt.js
In the script setup section of your component, add the following code:
<script setup lang="ts">
const client = useSupabaseClient()
const user = useSupabaseUser()

const login = async () => {
  const { data, error } = await client.auth.signInWithOAuth({
    provider: 'google',
    options: {
      queryParams: {
        access_type: 'offline',
        prompt: 'consent',
      },
    },
  })
}
</script>
Conclusion
By following these steps, you'll successfully integrate Google Authentication with Supabase in your Nuxt.js project. This setup provides a secure and efficient way for users to authenticate. Happy coding!